dsmISI for Windows
Introduction
General Storage dsmISI for Windows is a workload balancing solution for IBM Spectrum Protect Server running on Microsoft Windows using Dell/EMC Isilon storage.
Isilon clusters present their storage capacity via IP networks using standard file sharing protocols such as NFS and CIFS. The entire capacity of a cluster is organized in a single, big file system which comprises all disks of all nodes of a cluster. Since a cluster can grow by simply adding nodes to it, scalability of that capacity is simple and doesn’t require any operational intervention. As such, Isilon is the ideal storage for backup solutions as IBM Spectrum Protect which need lots of capacity and are often prone to growing in unpredictable bursts.
Accessing the capacity of an Isilon cluster is a straight forward file sharing operation. From a Spectrum Protect server, using a CIFS share through a UNC path definition is easy and set up in minutes.
However that operation will always only lead to a single path which, physically, only accesses the capacity through one Isilon node. In many cases, this single path is not enough.
dsmISI can access all Isilon nodes of a cluster simultaneously though a single path and thus present not only the capacity of a cluster but also its bandwidth as a singular entity. It also allows multipath access through more than one connection to speed up operations which benefit from having more than one target directory such as Spectrum Protect Directory Container pools and classic sequential file deduplication pools which may require multiple, simultaneous access streams to the same file or group of files. In all cases, organising access to an Isilon cluster with dsmISI only requires setting up a communication path to that Isilon. Finding out which nodes are accessible through which addresses, establishing paths etc. is done by dsmISI. General Storage dsmISI comes with a GUI that helps with setting up Isilons and paths.
This GUI also allows to install and control dsmISI services which constantly run in the background and handle the actual load balancing based on how much load individual Isilon nodes are under at any given point in time.
Before you begin
Please check the following prerequisites before installing dsmISI for Windows:
Any Windows Version supported by IBM Spectrum Protect Client Version 7.1 and later
Microsoft .NET Framework 4.5 or later
If you upgrade from a previous version of dsmISI, stop all running dsmISI services and uninstall that older dsmISI version before attempting to install the new Version. All definitions including user authentication credentials for ISILON clusters will be preserved in the registry in HKLM/Software/GeneralStorage and picked up automatically after an update.
Note
Previous versions of dsmISI were named according to the OneFS version they supported and hence had higher version number than “2”. With the support of OneFS 8, this policy has been changed and versioning for dsmISI for Windows now follows the versioning scheme of dsmISI for Linux and AIX.
Installation
Transfer and unzip the dsmISI-vxxx.zip file which includes this guide to your system and unpack it. It contains a PDF version of this document and a “setup.exe” file.
Run the setup.exe file to start the installation process.
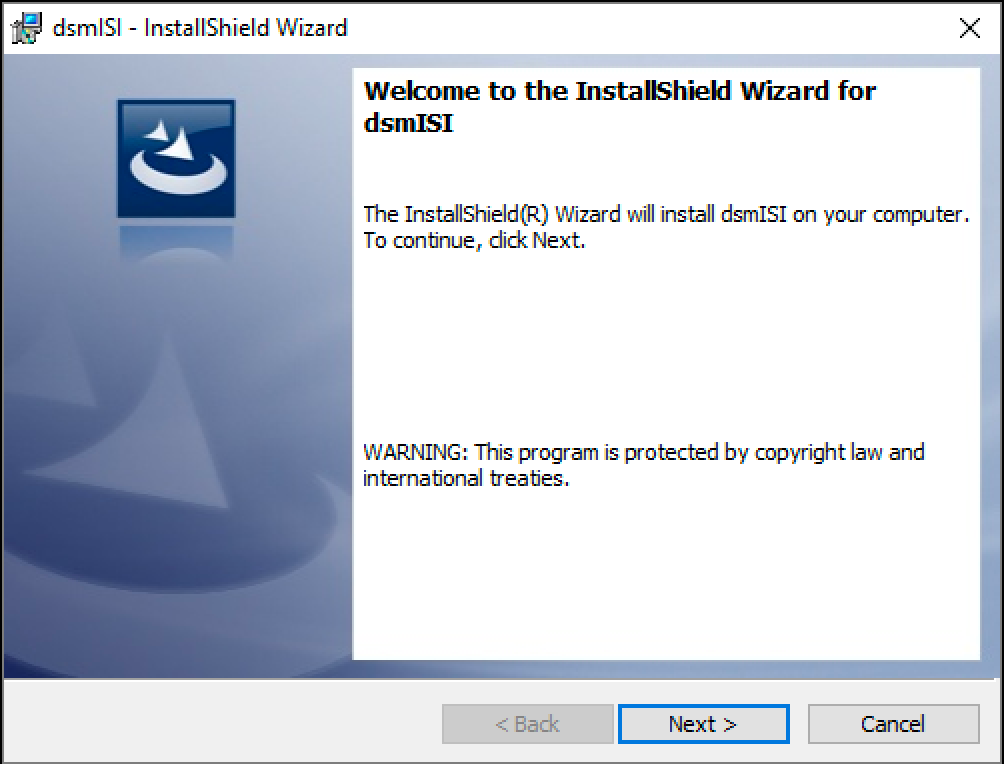
Accept the fact that licensing is involved by clicking on “Next” (see “Licenses” for further information).
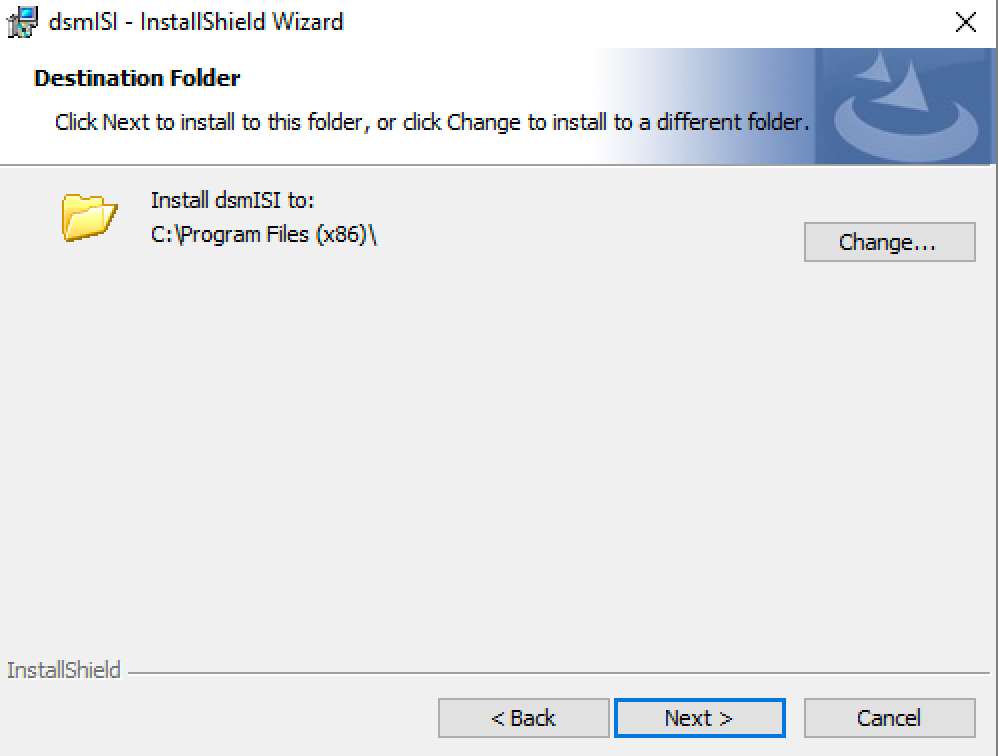
Accept the default installation path by clicking on Next or click on Change to define a different installation path.
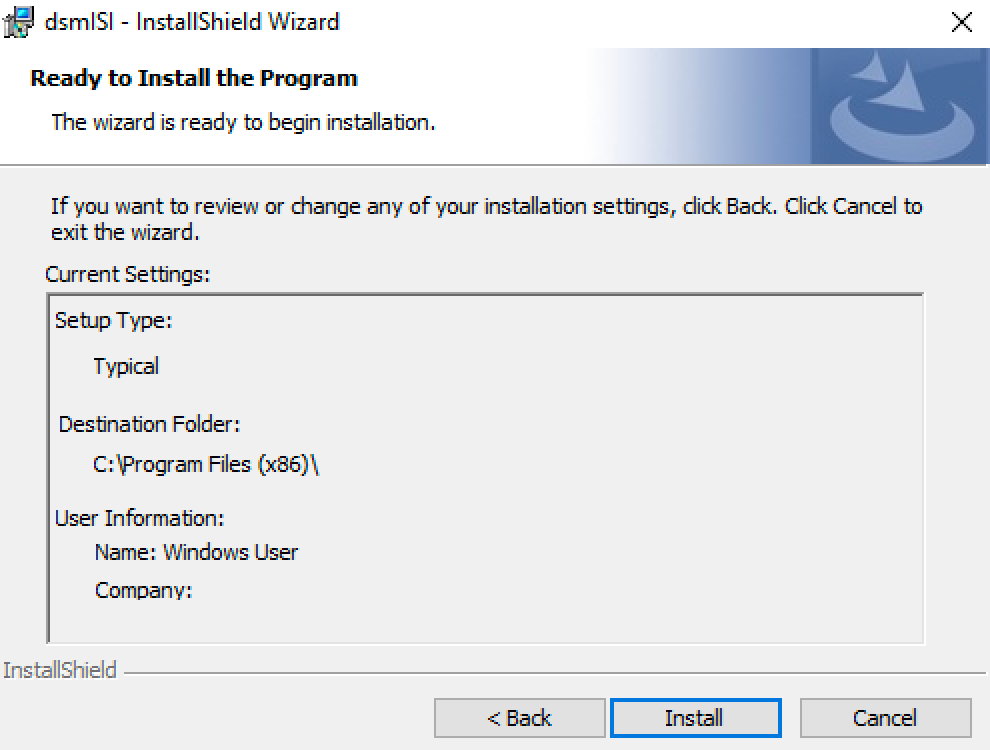
Review the install summary information and click on Install to proceed.
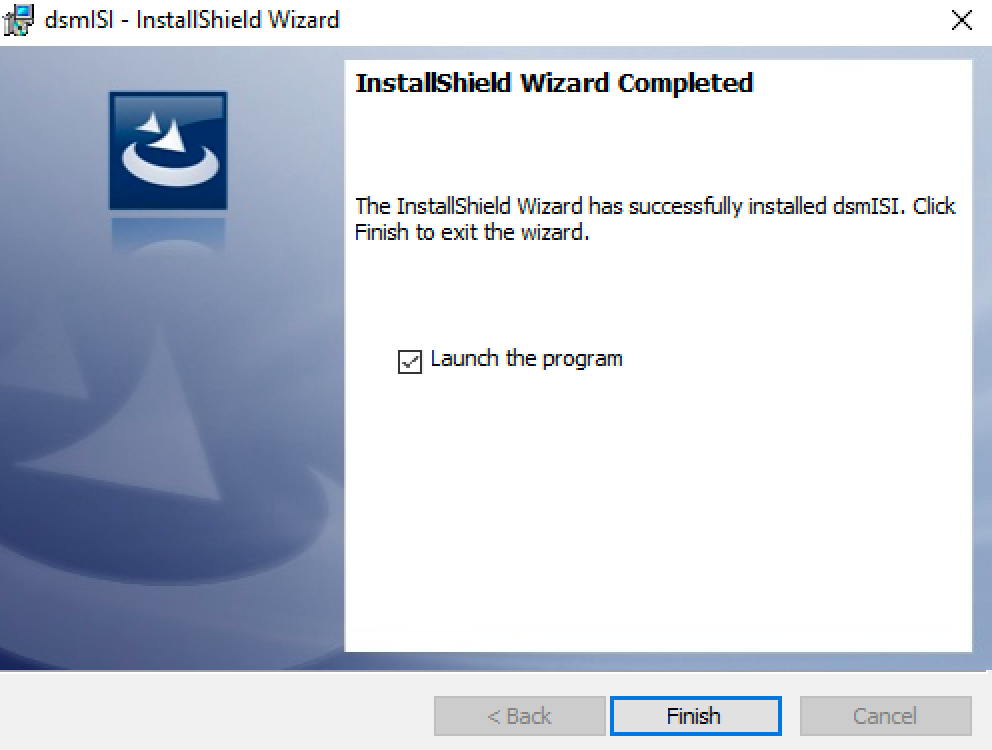
Click on “Finish” to end the installation and start “dsmisiutil.exe”, which is the utility used to set up and control dsmISI for Windows. After installation, your program files folder will contain a “General Storage Software GmbHdsmISI” folder in which these three files reside:
Configuration
If you haven’t already launched dsmISI util with the last step of the installation process, do so now by clicking on dsmisiutil.exe or by clicking on the start menu / General Storage Software GmbH / Launch dsmisiutil.exe.
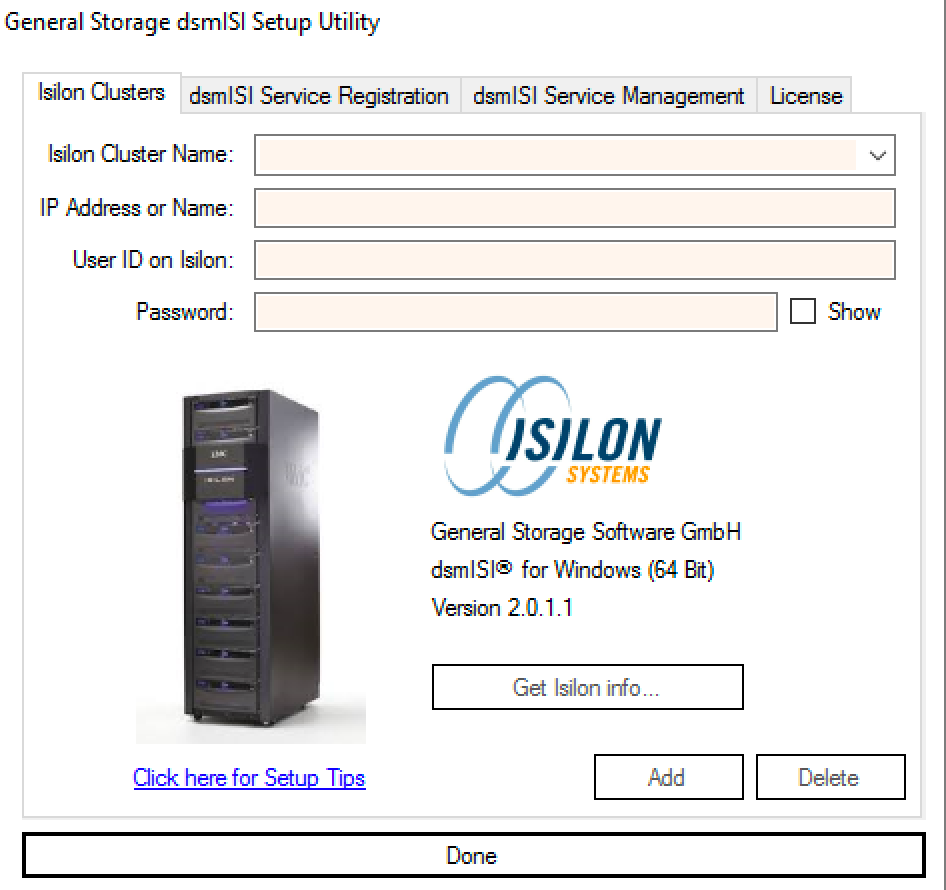
The setup utility is divided into three major sections: Isilon Clusters, dsmISI Service Registration and dsmISI Service Management.
Managing ISILON Clusters
Before defining any services, it is easiest to define all Isilon clusters you will be accessing. If you haven’t set up a dsmISI user and role on the isilon yet, do so now. Click on “Click here for Setup Tips” if you’re unsure about how to define the appropriate role and user on your Isilon cluster:
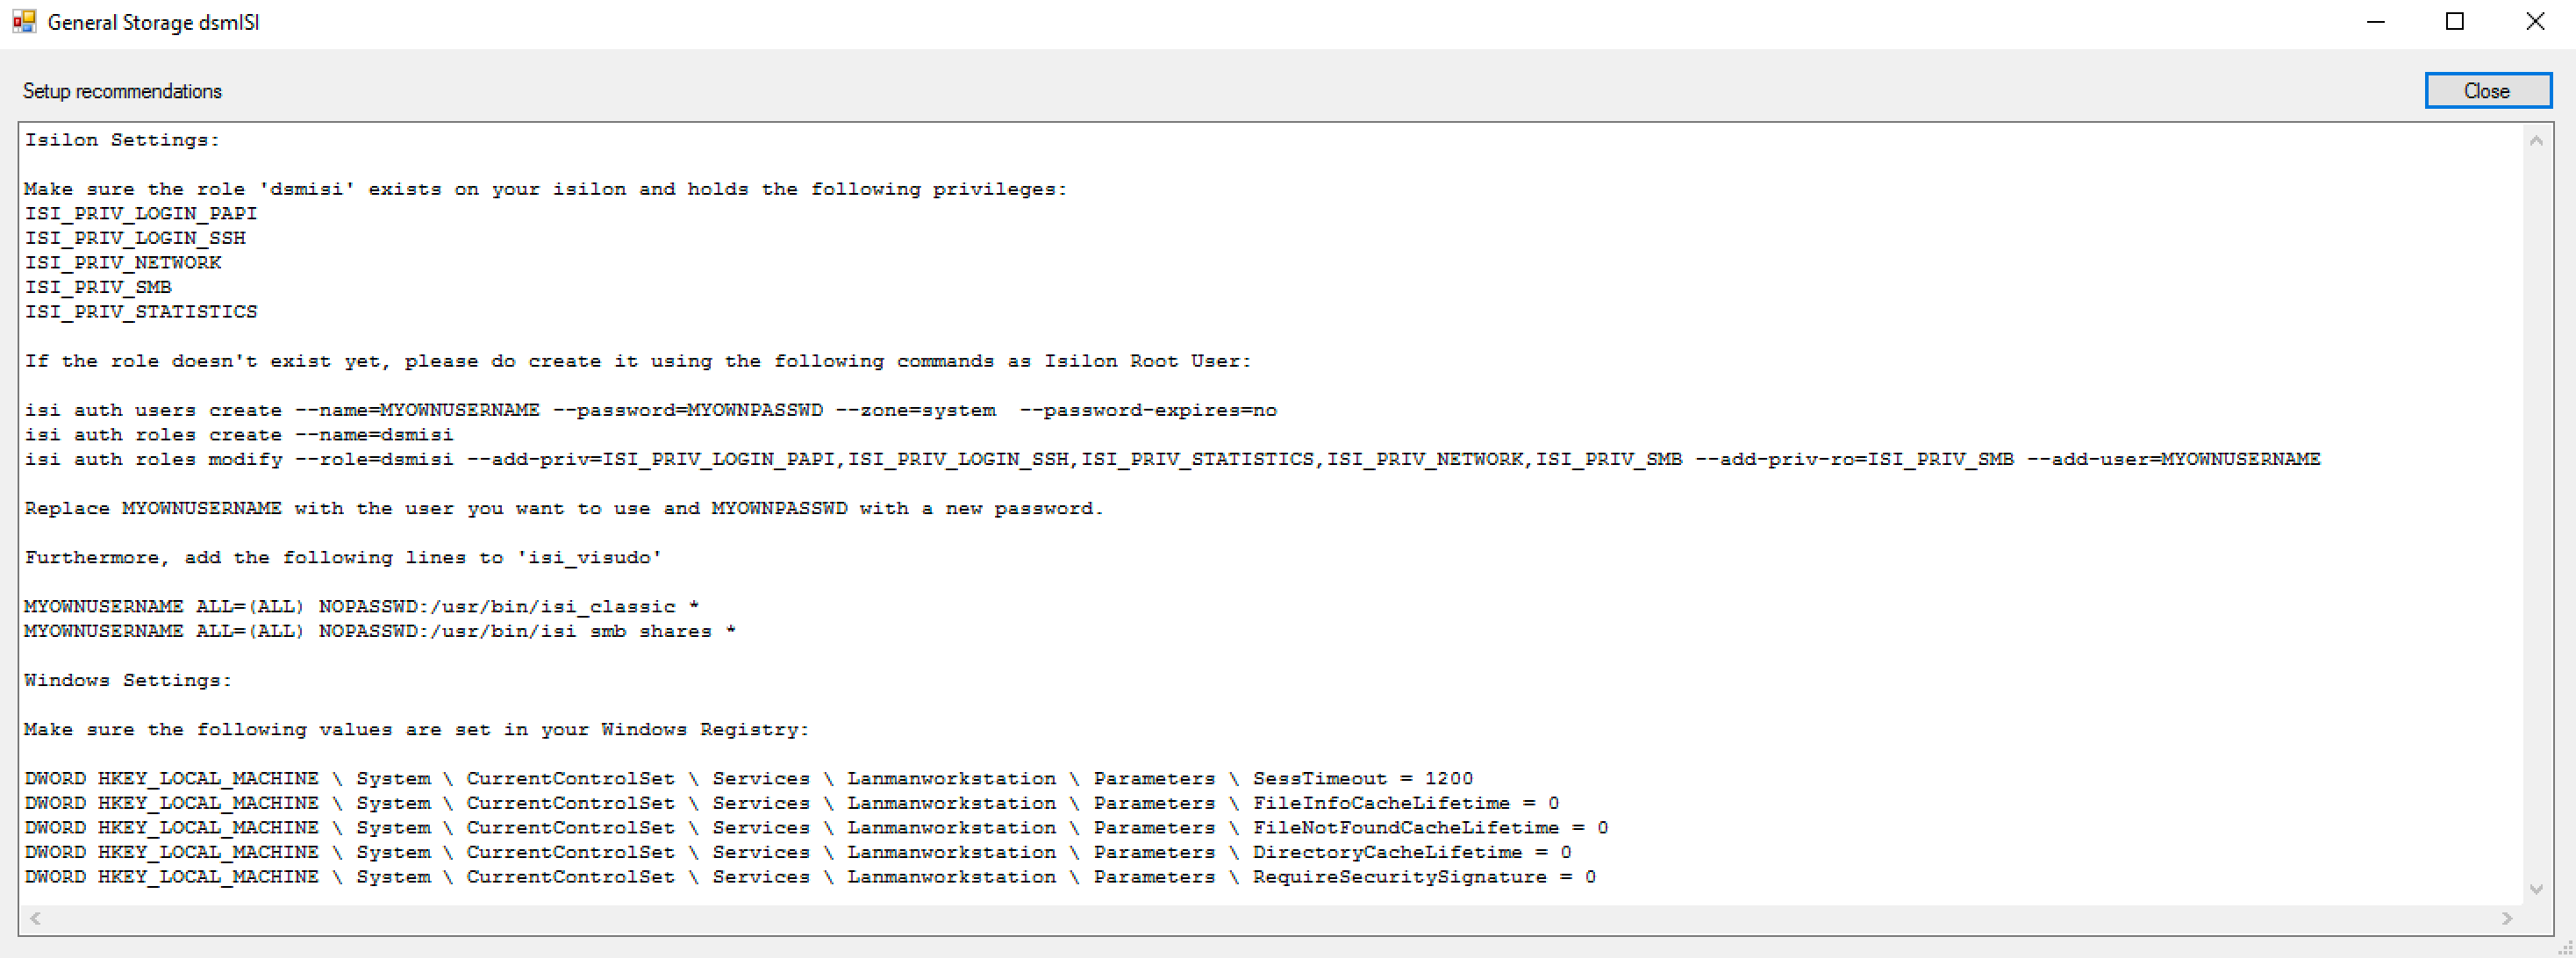
Carefully review the given information with your Isilon Administrator.
If a dsmisi role already exists on your Isilon, you can skip defining that role. However you will need an appropriate user on your Isilon with the appropriate rights to do certain queries. That user should not be the same user you are using with dsmISI for Linux or AIX.
Please substitute MYOWNUSERNAME and MYOWNPASSWD with the userid and password of your choice. For further information, check the Isilon documentation for “isi auth” and “isi_visudo”.
Note
It is still possible, though not recommended, to use the Isilon’s root user, in which case no rules have to be created.
Review the Windows Registry setting listed in setup tips and adjust them accordingly on your Windows server unless the existing definition are set any lower. These settings are not required if you plan to use OmniPath only (see below).
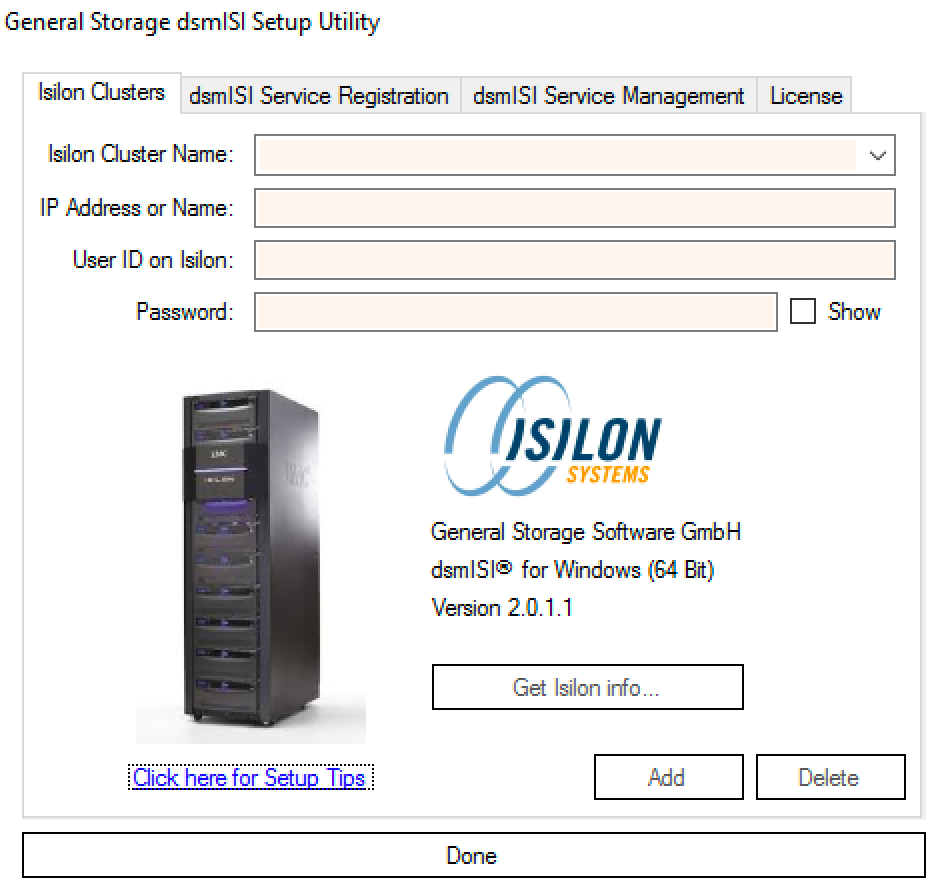
Defining a new ISILON cluster
Once the dsmisi role has been defined on your Isilon and the user is registered, you can proceed with defining that cluster to dsmISI by entering a name for it at “Isilon Cluster Name”. This name doesn’t have to match the actual network or system name of the Isilon in question, however it is recommended to give it a unique name which is descriptive and recognizable. Enter the IP address or network name into the next field. This would typically be an address from a management network segment or from a regular ip pool defined in the Isilon and reachable from your Windows machine. Enter the name of the Isilon user you defined in the previous step. Enter that user’s password as defined on the Isilon.
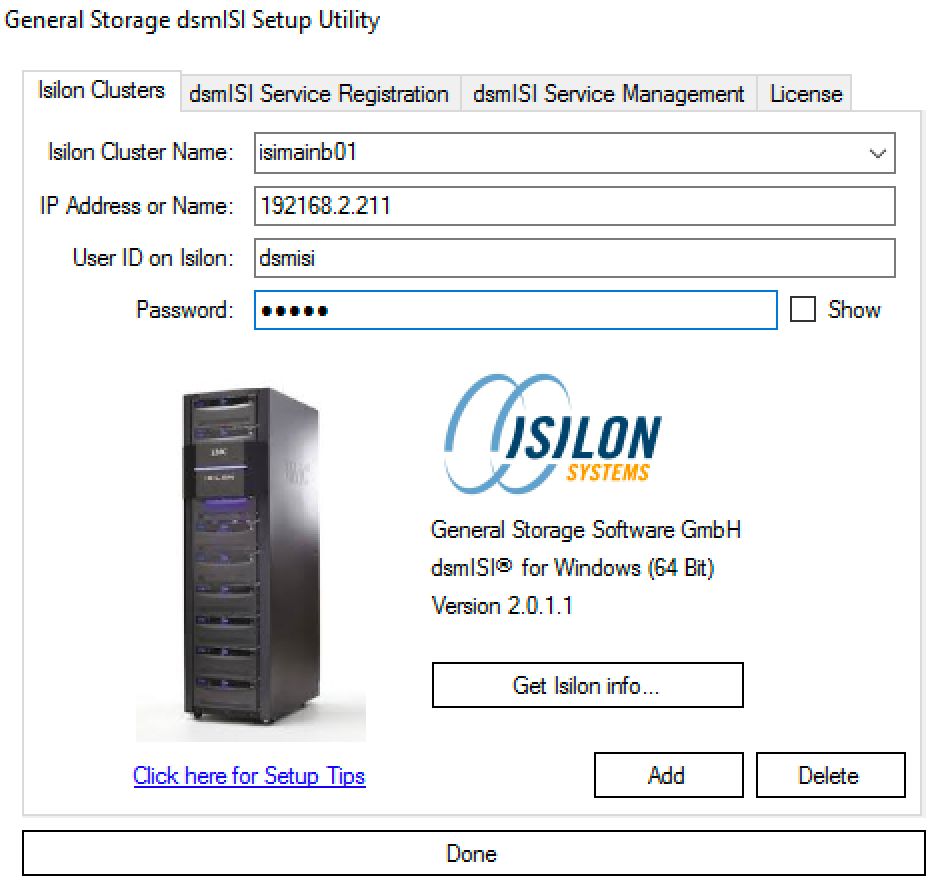
Click on “Get Isilon Info…” to check whether the given account and network information actually work. dsmisiutil will contact the Isilon and try some basic queries to check whether the defined role for the given userid suffice. If there is an issue with the connection, this procedure can take several minutes to complete. Please don’t kill dsmisiutil if that is the case but wait for the process to finish and record any error messages which may pop up. Also check the Windows Event log for potential network problems.
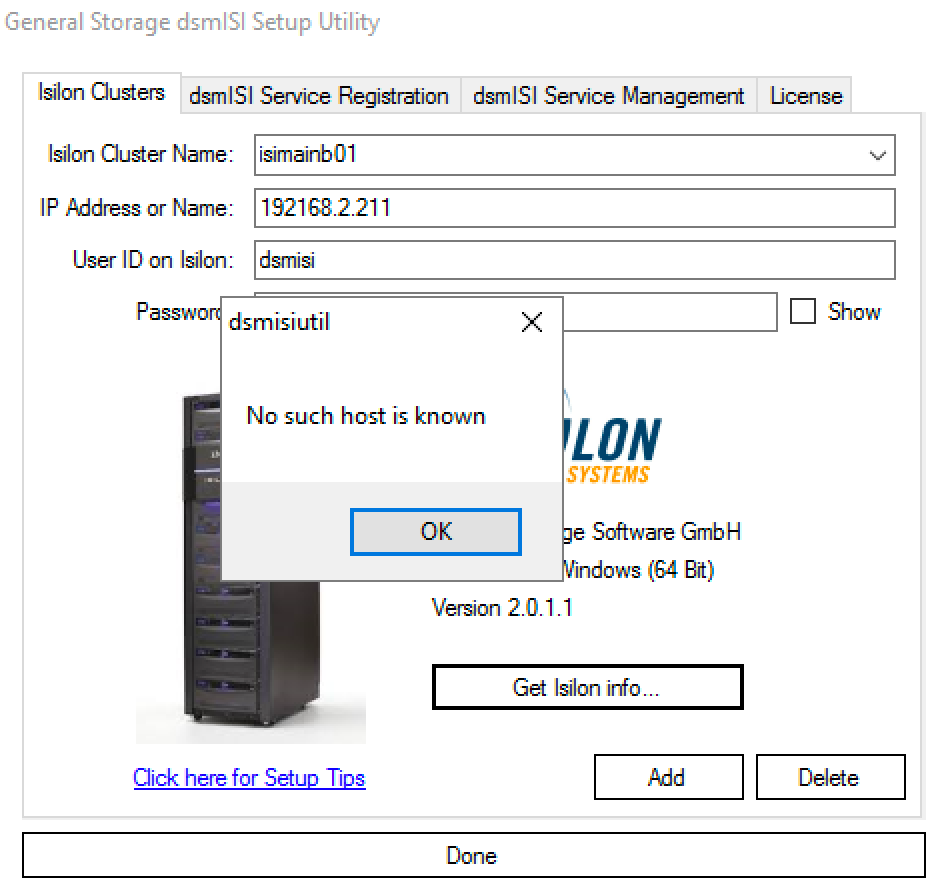
In this case, I forgot the period between the 192 and the 168 in the IP address.
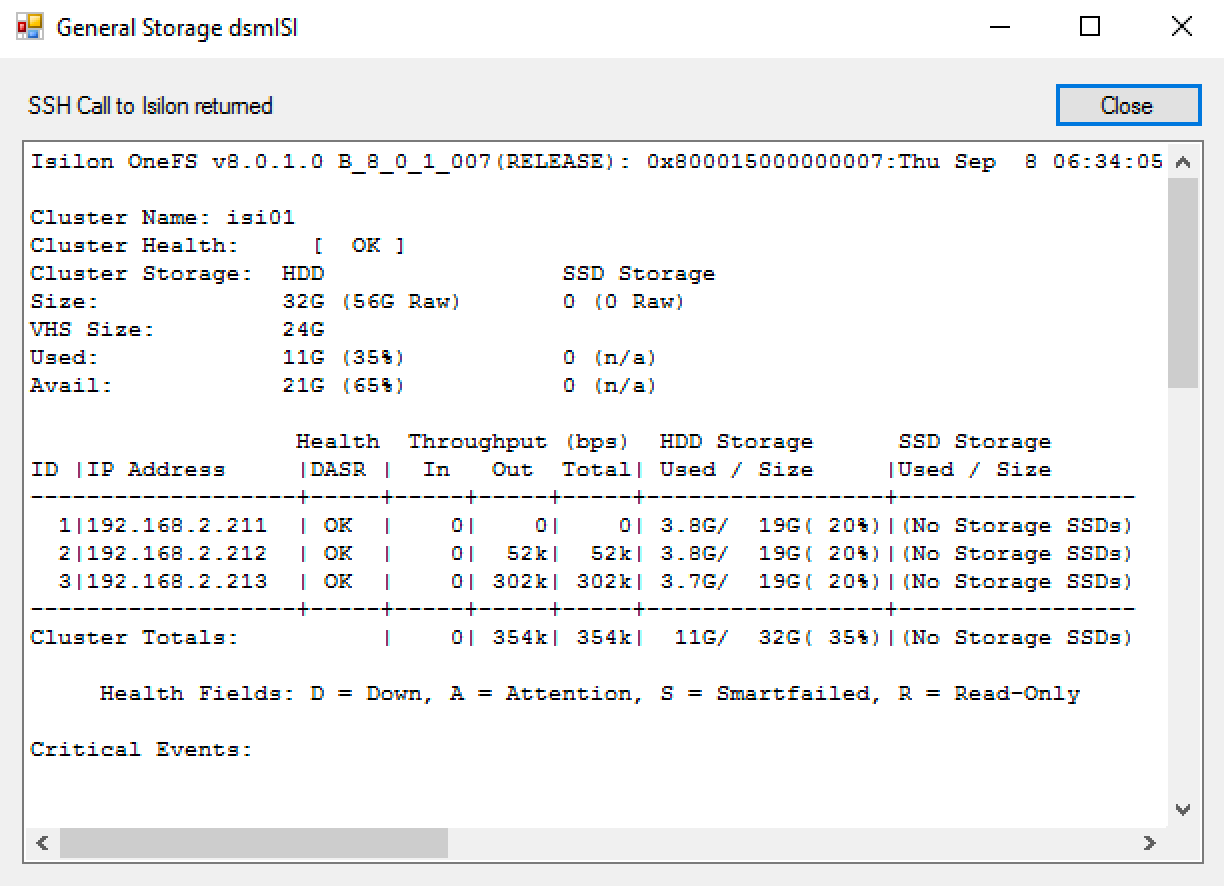
If everything works, dsmisiutil will bring up a window showing what information it got from the defined Isilon cluster. Review that information to make sure that this really is the system you want to access under the given Isilon cluster name.
If everything is as expected, close the “SSH Call to Isiilon returned” window by clicking on “Close” and click on “Add” to permanently add this cluster your dsmisi installation on this Windows machine. Dsmisiutil will return to its previous state and you can proceed with adding more Isilon clusters.
Changing and deleting existing cluster defintions
To change definitions for an already defined cluster, click on the downward arrow on the far right of the “Isilon Cluster Name” field and pick the Isilon definition you want to change or delete.
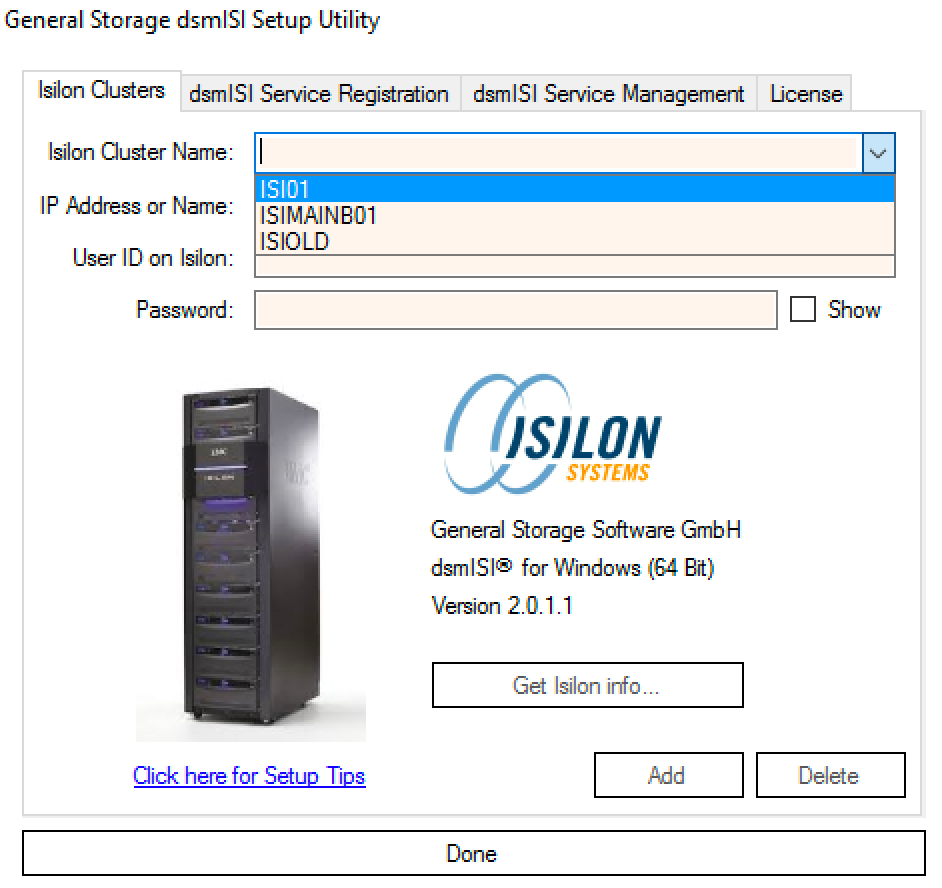
This will load the existing definitions for the chosen cluster:
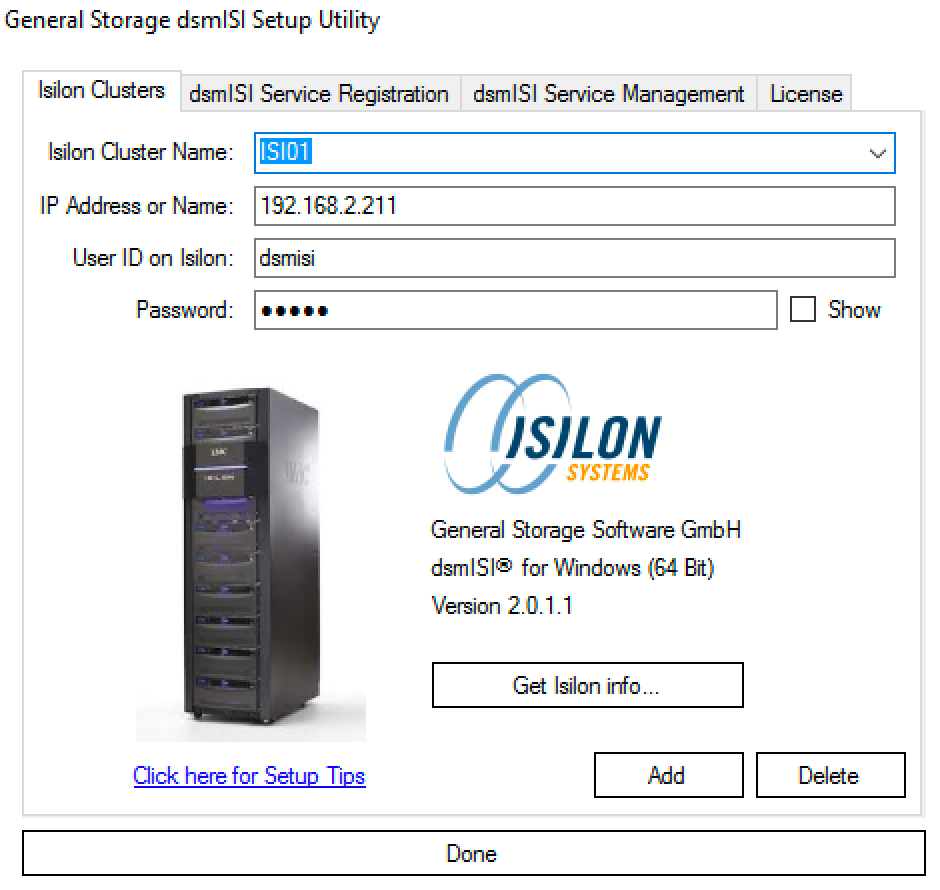
You can change any of the definitions and then click on “Add” to commit the changes or on “Delete” to delete the Isilon cluster form your dsmISI defintions.
Note
If you change the “Isilon Cluster Name” and click on “Add”, you will get an additional definition with the old definition under the old name still existing. That way, you can conveniently add multiple Isilon clusters just by changing the name and the IP Address and don’t have to re-enter userid and password (provided they were defined identically on all clusters). If you really changed the name because the definition under the old name should no longer exist, pick the old name from the list in your “Isilon Cluster Name” field and click on “Delete” to delete it.
Click on “Done” to close dsmisiutil or switch to one of the other tabs to work with dsmISI services.